 Pin It
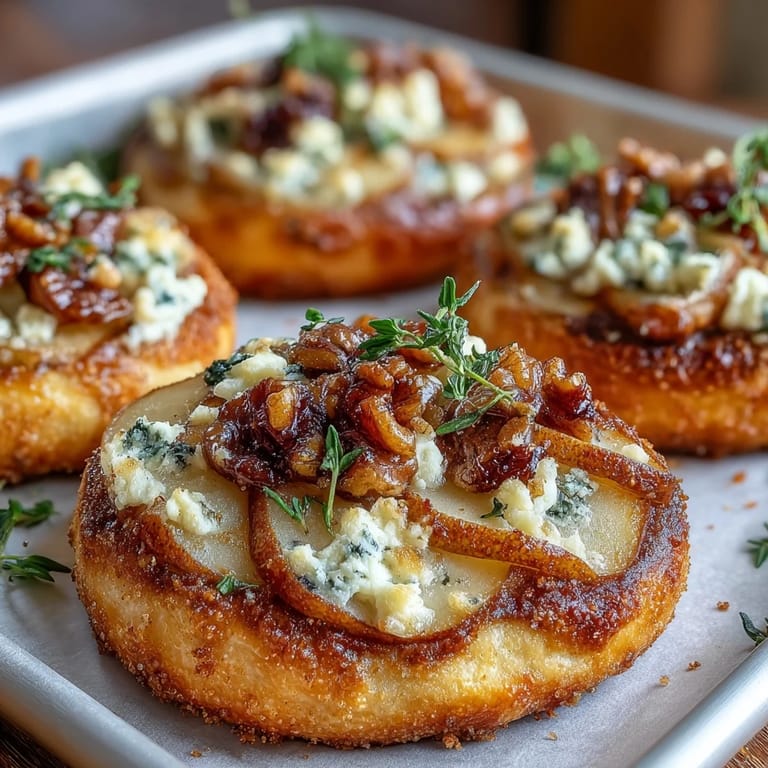
 A friend once brought pickled walnuts to a dinner party, and I had no idea what to do with them until I spotted a ripe pear on the counter. That night, I rolled out some leftover dough, scattered whatever cheese I had, and baked tiny rounds that disappeared in minutes. The sweet, salty, tangy contrast felt like a small revelation. Now, these pizzettes are my go-to when I want something elegant without the fuss.
I made these for a book club gathering once, and someone asked if I had catering experience. I laughed because I had been rolling dough in my pajamas an hour earlier. The trick is that they taste sophisticated but require almost no technique. Watching people reach for a second and third piece told me everything I needed to know.
Ingredients
- Pizza dough (250 g): Store-bought works beautifully here, saving you time, but if you have homemade dough resting in the fridge, even better for flavor and texture.
- Ripe pear (1 large, thinly sliced): Choose a firm but ripe pear so the slices hold their shape during baking and offer that gentle sweetness without turning mushy.
- Gorgonzola cheese (100 g, crumbled): This creamy, pungent blue cheese melts into pockets of sharp richness that contrast perfectly with the fruit.
- Pickled walnuts (6, thinly sliced): These dark, tangy gems bring an unexpected depth and slight bitterness that ties everything together.
- Olive oil (1 tbsp): A light brush keeps the dough from drying out and adds a subtle fruity note to the crust.
- Fresh thyme leaves (1 tsp): Just a whisper of herbal brightness that makes the whole bite feel more complex.
- Freshly ground black pepper (to taste): A few cracks add warmth and a gentle bite that wakes up the other flavors.
- Honey (1 tbsp, optional): A drizzle after baking adds a glossy finish and amplifies the sweetness of the pear.
- Fresh arugula leaves (optional): Tossing a few peppery greens on top right before serving adds color and a fresh, crisp contrast.
Tired of Takeout? 🥡
Get 10 meals you can make faster than delivery arrives. Seriously.
One email. No spam. Unsubscribe anytime.
Instructions
- Prepare the oven and tray:
- Preheat your oven to 220°C (430°F) and line a baking tray with parchment paper so the pizzettes release easily and bake evenly. This high heat is essential for getting a crisp, golden base.
- Cut the dough rounds:
- Roll out the pizza dough to about 0.5 cm thickness, then use a 7 cm round cutter to stamp out 12 circles. Arrange them on the prepared tray, leaving a little space between each one.
- Brush with olive oil:
- Lightly brush the top of each dough round with olive oil using a small brush or your fingers. This helps the toppings stick and adds flavor to the crust.
- Add the toppings:
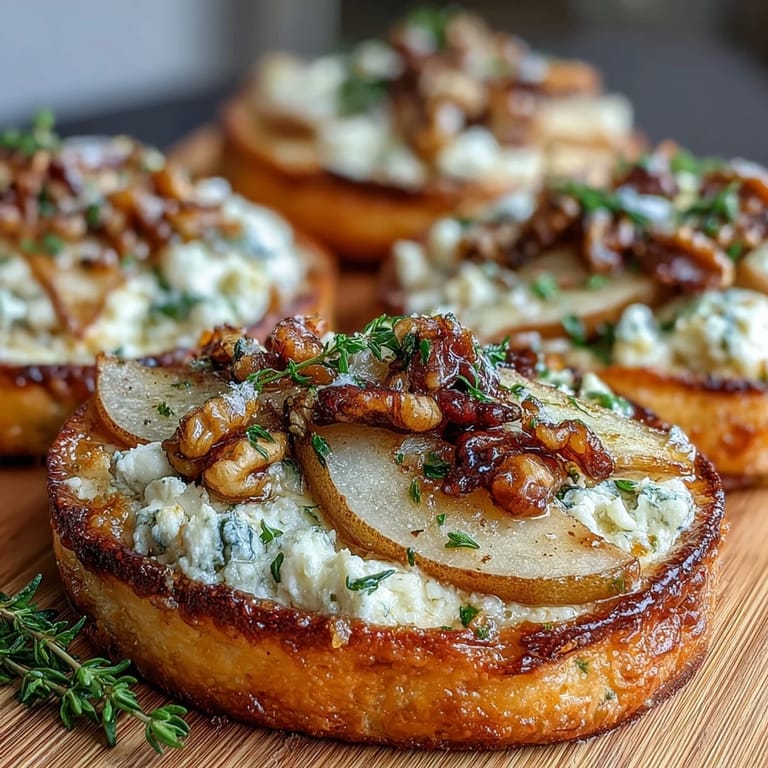
- Arrange thin pear slices on each pizzette, then scatter crumbled Gorgonzola and sliced pickled walnuts over the top. Sprinkle with fresh thyme leaves and a few cracks of black pepper.
- Bake until golden:
- Slide the tray into the oven and bake for 12 to 15 minutes, until the edges are golden brown and the cheese is bubbling. Keep an eye on them near the end so they do not burn.
- Finish and serve:
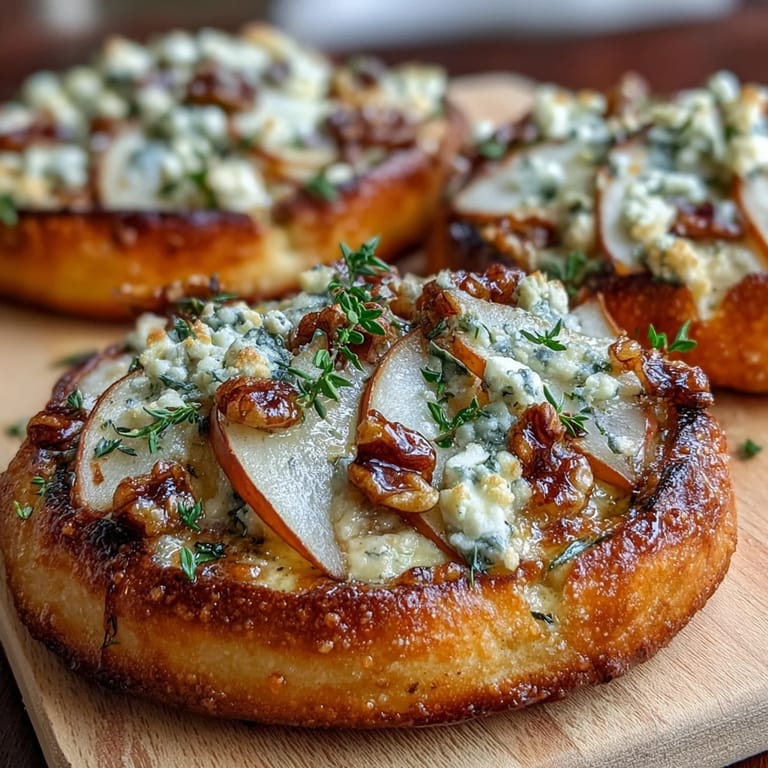
- Remove from the oven and drizzle with honey if you like a touch of extra sweetness. Top with fresh arugula leaves and serve warm while the cheese is still gooey.
 Pin It
 One evening, I served these at a casual gathering, and a guest who claimed to hate blue cheese ate three without realizing what was in them. She paused mid-bite, looked at me, and said, "Wait, is this Gorgonzola?" It became a running joke, but it also proved how well-balanced flavors can win over even the skeptics.
Choosing Your Pear
I have tried this with Bartlett, Bosc, and Anjou pears, and each brings something different. Bartlett offers the most sweetness and softness, Bosc holds its shape better and has a slightly spiced flavor, and Anjou sits somewhere in between. Pick what looks best at the market, but make sure it is ripe enough to slice cleanly without being so soft it turns to mush in the oven.
Swapping the Cheese
If Gorgonzola feels too strong, try a milder blue like Dolcelatte or even a creamy goat cheese for a tangy but gentler option. I once used Roquefort when that was all I had, and it worked beautifully, though it brought a sharper, saltier edge. The key is using something with enough personality to stand up to the sweetness of the pear and the funk of the pickled walnuts.
Serving and Storing
These pizzettes are best enjoyed warm, straight from the oven when the cheese is still melty and the crust is at its crispest. If you have leftovers, store them in an airtight container in the fridge and reheat in a hot oven for a few minutes to bring back some of the crunch. They lose a bit of magic when cold, but they are still tasty enough to snack on.
- Serve them on a wooden board for a rustic, elegant presentation.
- Pair with a crisp Italian white wine like Pinot Grigio or a light sparkling Prosecco.
- You can assemble the dough rounds and toppings a few hours ahead, then bake just before serving.
 Pin It
 These little bites have become my secret weapon for impressing without stressing. They prove that a handful of quality ingredients and a hot oven can turn into something that feels special every single time.
Recipe Questions & Answers
- → Can I use a different type of blue cheese?
Yes, you can substitute Gorgonzola with blue Stilton or Roquefort for a different flavor profile while maintaining the creamy, tangy character of the dish.
- → What if I can't find pickled walnuts?
Regular walnuts work well as a substitute. Add a splash of balsamic glaze to recreate the tangy complexity that pickled walnuts provide.
- → Can I make the dough from scratch?
Absolutely. You can use homemade pizza dough instead of store-bought. Just ensure it's rolled to about 0.5 cm thickness for the best crispy texture.
- → How do I store leftover pizzettes?
Store cooled pizzettes in an airtight container in the refrigerator for up to 2 days. Reheat in a preheated oven at 180°C for 5-7 minutes to restore crispness.
- → What wine pairs best with these pizzettes?
A crisp Italian white wine such as Pinot Grigio or Vermentino complements the sweet pears and tangy Gorgonzola beautifully, balancing the rich flavors.
- → Can I prepare these ahead of time?
You can cut and prepare the dough rounds and slice the toppings in advance. Assemble and bake just before serving to ensure the bases remain crispy and fresh.